AmiBroker - Using Our Futures Data
The first installation step below requires a data update to be performed. If you have purchased a data history as a stand-alone item (i.e. without a
subscription to the Futures updating service), then you will need to sign up for a no obligation 3-week free trial so that the installation can be completed successfully
(be sure to sign-up with your existing username).
Step 1
The first thing you need to do (if you haven't already done so) is install the "DataTools" updating program and a Futures data history.
Installation instructions can be found here.
After installation is complete, open the "DataTools" program and click the "Update" button to perform an update.
Step 2
Close AmiBroker and DataTools if they are open.
Step 3
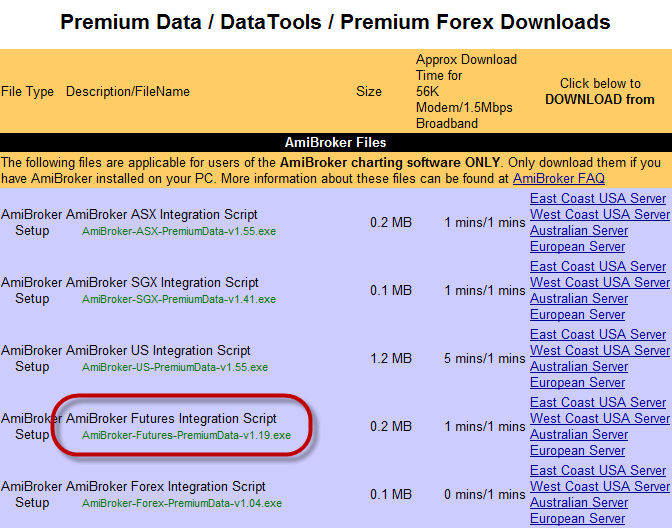
If you haven't already downloaded the Amibroker Futures Integration Script Installer from our website, do so now.
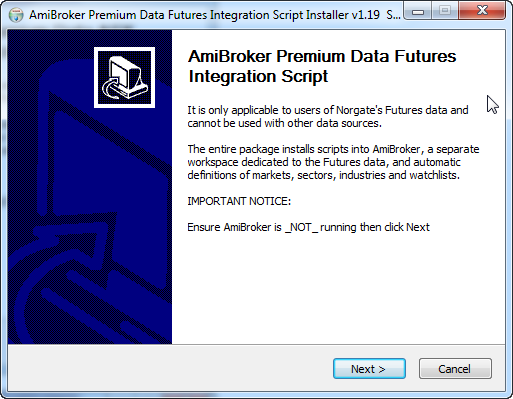
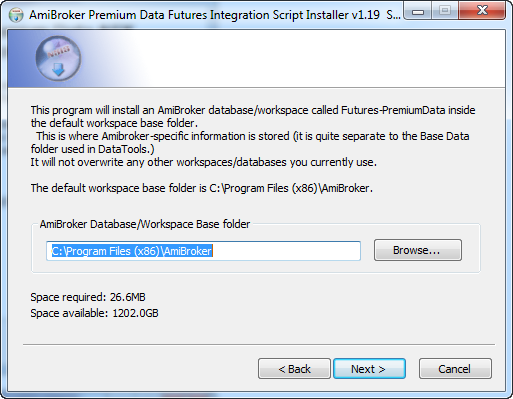
Once it has been downloaded, run the Installer.
Step 4
Open AmiBroker.
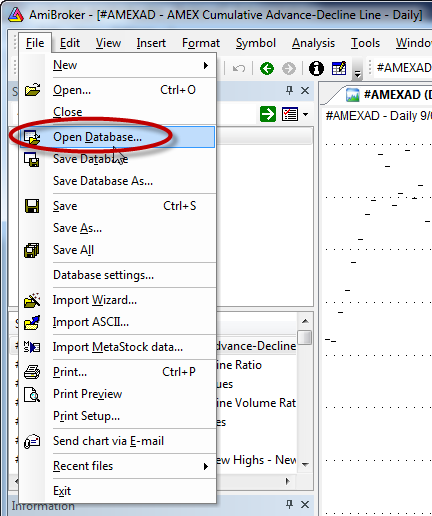
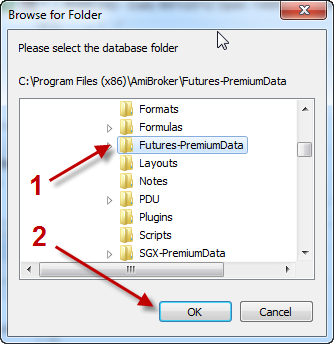
Go File > Open Database and navigate to "C:\Program Files\AmiBroker" then select the Futures-PremiumData folder
so that the entire path reads something like "C:\Program Files\AmiBroker\Futures-PremiumData".
Click Ok.
Step 5
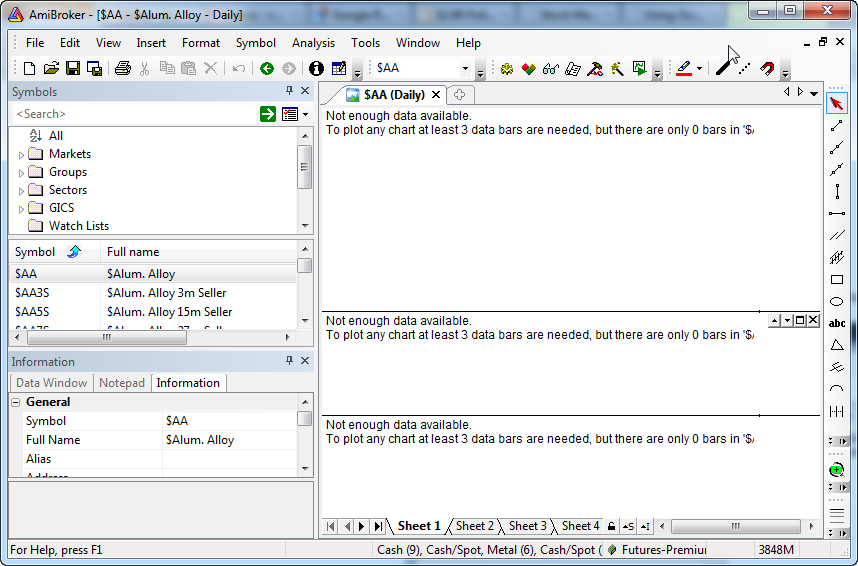
When you first open the database, it will say "Not enough data available."
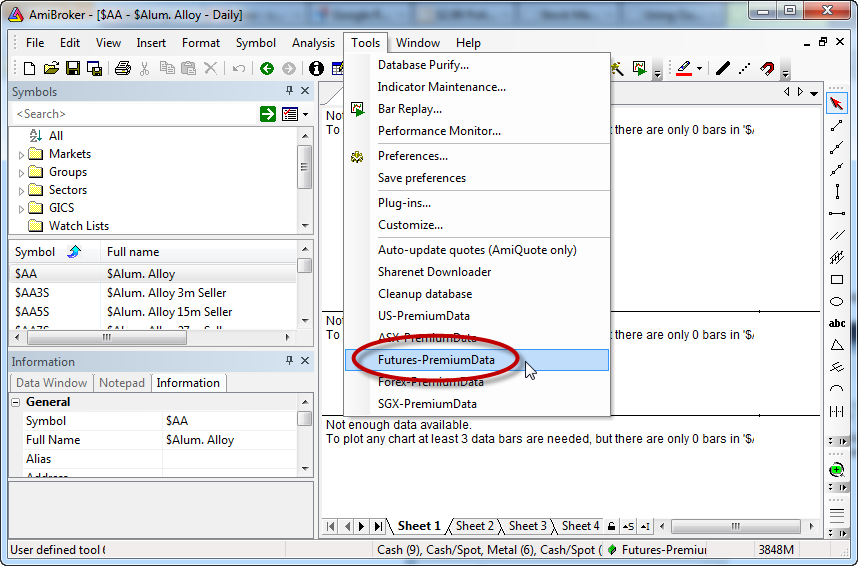
Go Tools > Futures-PremiumData - this runs the maintenance script and it will populate all of the symbols, groups and sectors.
Step 6
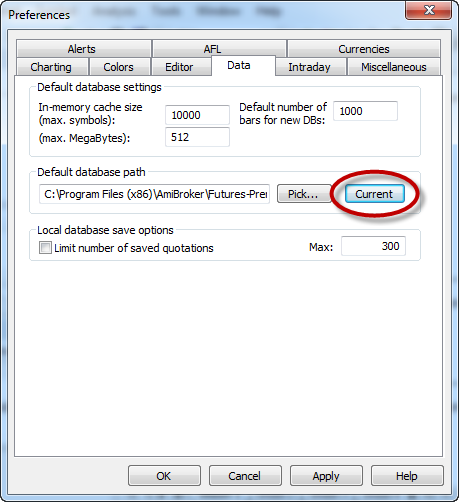
If desired, you can set the current database as the default so that it opens automatically when AmiBroker starts.
To do this, go Tools > Preferences, select the Data tab and under the box marked "Default database path" click the "Current" button then OK.
Important Note!: You will need to run the maintenance script (Tools > Futures-PremiumData) periodically to pick up new contract months as they become listed
as well as any changes to Initial Margins and Tick Sizes etc.
For Futures, we recommend running maintenance at least once a week. Please see Step 6 above.
|

